
Laravel Rate Limiting: How to Protect Your API from Too Many Requests
A practical guide to rate limiting in Laravel: protect routes, define limits per user or IP address, customize 429 responses, use Redis in production, and test the result.
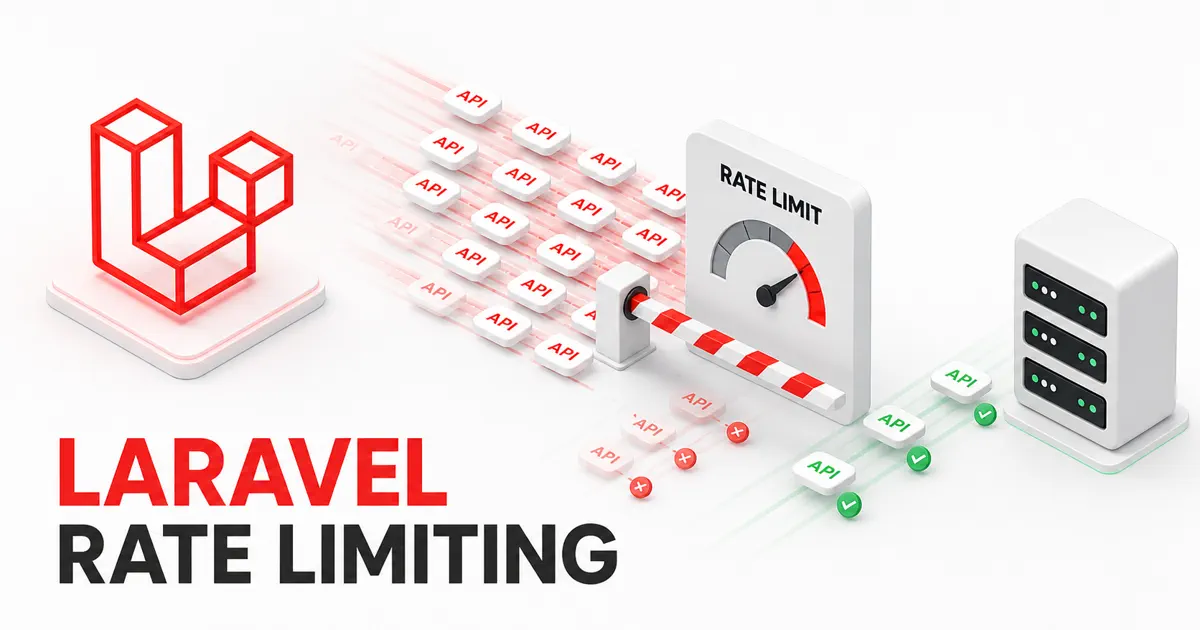
Laravel Rate Limiting: How to Protect Your API from Too Many Requests
Your API is running and everything looks fine… but what happens when it suddenly receives thousands of requests in a short time?
Server usage may spike, responses may slow down, and one user or automated bot may affect the experience for everyone else.
This is where rate limiting helps.
The idea is simple: decide how many requests a client may send during a specific period. For example, you can allow each user to make 60 requests per minute. When they exceed that number, Laravel temporarily rejects the request with a 429 Too Many Requests response.
In this guide, we will start with the quickest setup and build toward an approach that works for a real API.
When do you need rate limiting?
Not every endpoint needs the same limit. Rate limiting is particularly useful for:
- Login and password-reset endpoints.
- Sending or resending OTP codes.
- Search endpoints and expensive reports.
- Public APIs and APIs used by third-party clients.
- Endpoints that call paid services such as SMS, email, or AI providers.
- Protecting your database and application servers from abusive or automated traffic.
Rate limiting does not replace authentication, validation, or a firewall. It is another layer that controls traffic before a burst becomes an application-wide problem.
The quick option: use throttle directly
For a simple route limit, attach Laravel's throttle middleware:
use App\Http\Controllers\ProductController;
use Illuminate\Support\Facades\Route;

Route::get('/products', [ProductController::class, 'index'])
    ->middleware('throttle:60,1');
The value 60,1 means:
- Allow 60 requests.
- During one minute.
You can also apply it to a route group:
Route::middleware(['auth:sanctum', 'throttle:60,1'])
    ->group(function () {
        Route::get('/profile', [ProfileController::class, 'show']);
        Route::get('/orders', [OrderController::class, 'index']);
        Route::post('/orders', [OrderController::class, 'store']);
    });
This is a good starting point. In a production project, however, you will usually want a named limiter with different behavior for authenticated users and guests.
Define a custom rate limiter
You can define named limits in AppServiceProvider and reuse them on any route.
Open:
app/Providers/AppServiceProvider.php
Then add an api limiter inside boot:
<?php

namespace App\Providers;

use Illuminate\Cache\RateLimiting\Limit;
use Illuminate\Http\Request;
use Illuminate\Support\Facades\RateLimiter;
use Illuminate\Support\ServiceProvider;

class AppServiceProvider extends ServiceProvider
{
    public function boot(): void
    {
        RateLimiter::for('api', function (Request $request) {
            $key = $request->user()?->getAuthIdentifier()
                ?? $request->ip();

            return Limit::perMinute(60)->by($key);
        });
    }
}
Attach it by name:
Route::middleware(['auth:sanctum', 'throttle:api'])
    ->group(function () {
        Route::apiResource('orders', OrderController::class);
    });
The value passed to by() is important because it decides how Laravel separates clients:
- Use the user ID for an authenticated user.
- Use the IP address for a guest.
One user will no longer consume the allowance that belongs to everyone else.
Apply more than one limit
A limit of 60 requests per minute may not be enough by itself. A client can stay below that limit and still make a very large number of requests over an entire day.
Return multiple limits to combine a short burst limit with a daily allowance:
RateLimiter::for('api', function (Request $request) {
    $identity = $request->user()?->getAuthIdentifier()
        ?? $request->ip();

    return [
        Limit::perMinute(60)->by("minute:{$identity}"),
        Limit::perDay(1_000)->by("day:{$identity}"),
    ];
});
Each key has a different prefix so the minute and daily counters remain independent.
This protects the server from sudden bursts while also giving the product a clear daily usage ceiling.
Use a stricter limit for login
Login is sensitive and should not share the general API limit. Five attempts per minute is a reasonable starting point for many projects, although your final number should match your users and risk level.
use Illuminate\Cache\RateLimiting\Limit;
use Illuminate\Http\Request;
use Illuminate\Support\Facades\RateLimiter;
use Illuminate\Support\Str;

RateLimiter::for('login', function (Request $request) {
    $email = Str::lower((string) $request->input('email'));
    $key = hash('sha256', $email.'|'.$request->ip());

    return Limit::perMinute(5)
        ->by($key)
        ->response(function (Request $request, array $headers) {
            return response()->json([
                'message' => 'Too many login attempts. Please try again later.',
                'status' => 429,
                'data' => null,
            ], 429, $headers);
        });
});
Apply it only to the login route:
Route::post('/login', [AuthController::class, 'login'])
    ->middleware('throttle:login');
This key combines the normalized email address with the IP address. Hashing it also avoids storing the email itself in the cache key.
Keep the error generic. It should not reveal whether an email address is registered in your application.
Give each customer plan a different limit
If your application has free and paid plans, the limit can be part of the product rules:
RateLimiter::for('api', function (Request $request) {
    $user = $request->user();

    if (! $user) {
        return Limit::perMinute(20)->by($request->ip());
    }

    if ($user->isPremium()) {
        return Limit::perMinute(300)->by($user->id);
    }

    return Limit::perMinute(60)->by($user->id);
});
Guests receive 20 requests per minute, free users receive 60, and premium users receive 300.
Use RateLimiter inside application code
Middleware is ideal for routes, but sometimes the limit belongs to one specific operation inside a controller or service. Sending a report by email is a good example.
use Illuminate\Support\Facades\RateLimiter;

public function sendReport(Request $request)
{
    $key = 'send-report:'.$request->user()->id;

    if (RateLimiter::tooManyAttempts($key, 3)) {
        return response()->json([
            'message' => 'You have reached the report limit.',
            'retry_after' => RateLimiter::availableIn($key),
        ], 429);
    }

    RateLimiter::hit($key, 3600);

    SendReport::dispatch($request->user());

    return response()->json([
        'message' => 'The report is being prepared.',
    ]);
}
This allows three attempts per hour. availableIn() returns the number of seconds until another attempt is available.
When a successful action should reset the counter, call:
RateLimiter::clear($key);
This is useful in a manual login flow: count failed attempts, then clear the counter after a successful login.
What does Laravel return when the limit is exceeded?
Laravel responds with status 429 and rate-limit headers similar to these:
HTTP/1.1 429 Too Many Requests
Retry-After: 42
X-RateLimit-Limit: 60
X-RateLimit-Remaining: 0
Your frontend or mobile client should handle 429 deliberately:
- Do not immediately repeat the request in a loop.
- Read
Retry-Afterwhen it is available. - Show the user a short, clear message.
- Use exponential backoff for automated retries.
A server-side limiter cannot help much if a client continues resending the same request dozens of times after receiving 429.
Use Redis in production
Laravel stores rate-limit counters through its cache system. A local cache may work on one server, but multiple application servers must share the same counter.
Redis is usually the practical choice here because it is fast and shared between application instances. Make sure the limiter setting in config/cache.php points to the correct Redis store instead of letting every server count requests independently.
Laravel can also use its Redis-optimized throttle middleware. Enable it in bootstrap/app.php:
use Illuminate\Foundation\Configuration\Middleware;

->withMiddleware(function (Middleware $middleware): void {
    $middleware->throttleWithRedis();
})
How should you choose a limit?
There is no number that fits every project. Start with a simple question: how many requests does a normal user need to finish this task?
| Endpoint | Possible starting limit |
|---|---|
| Login | 5 attempts per minute |
| Resend OTP | 3 attempts per 10 minutes |
| Authenticated API | 60–120 requests per minute |
| Expensive search | 10–30 requests per minute |
| Export report | 3–5 times per hour |
These are starting points, not universal rules. Monitor real usage, response times, and the percentage of 429 responses, then adjust the values.
If many legitimate users hit the limit, it may be too low. If the server is under stress before clients reach it, the limit may be too high—or the endpoint itself may need optimization.
Test the limiter
Do not rely only on manual testing. Add a feature test that proves Laravel accepts the allowed number of requests and rejects the next one:
public function test_login_is_rate_limited_after_five_attempts(): void
{
    $payload = [
        'email' => 'user@example.com',
        'password' => 'wrong-password',
    ];

    for ($attempt = 1; $attempt <= 5; $attempt++) {
        $this->withServerVariables(['REMOTE_ADDR' => '192.0.2.10'])
            ->postJson('/api/login', $payload)
            ->assertStatus(422);
    }

    $this->withServerVariables(['REMOTE_ADDR' => '192.0.2.10'])
        ->postJson('/api/login', $payload)
        ->assertStatus(429)
        ->assertHeader('Retry-After');
}
Your application may use a different status for failed authentication, such as 401 instead of 422. Adjust that assertion to match your real API contract.
Common mistakes
Using one limit for every endpoint
Login is not the same as listing products, and exporting a report is not the same as viewing a profile. Group limits by the cost and sensitivity of each endpoint.
Using only the IP address for authenticated users
Many users may share one public IP inside an office, university, or mobile network. Prefer the user ID after authentication. Keep IP-based limits for guests, or combine identity and IP for sensitive operations such as login.
Forgetting a multi-server environment
If each server keeps a local counter, clients may bypass the intended limit as traffic moves between servers. Use a shared cache such as Redis.
Putting every limit inside a controller
Middleware rejects traffic before it reaches controller logic, which is ideal for whole routes. Use RateLimiter inside application code when the limit belongs to one specific action rather than the entire endpoint.
Conclusion
Rate limiting may not feel important while a project is small, but it becomes a core protection layer as traffic grows.
Start with sensitive endpoints such as login and OTP. Add clearly named limits for the rest of the API, segment requests by user or IP, and use Redis when the application runs on more than one server. Most importantly, monitor the result instead of treating your first numbers as permanent.
With these controls in place, a large burst of requests will not enter the application all at once. Laravel will reject the excess traffic with an orderly 429 response while the service remains available to normal users.